Installment for a Clearly Tough Full Folding Windshield

USE CAUTION! An accidental tool slip or misuse of a tool may cause damage to you or to the windshield.

Windshield Installation

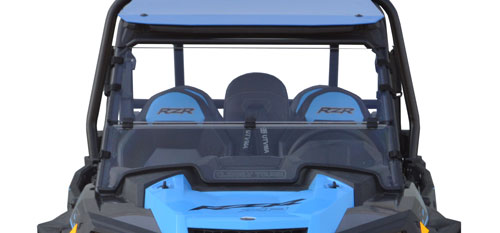
Picture may or may not represent your specific windshield.


Hinge Installment for a Clearly Tough Full Folding Windshield

USE CAUTION! An accidental tool slip or misuse of a tool may cause damage to you or to the windshield.

Check out our Clearly Tough 1/4″ Hinge Installation Video
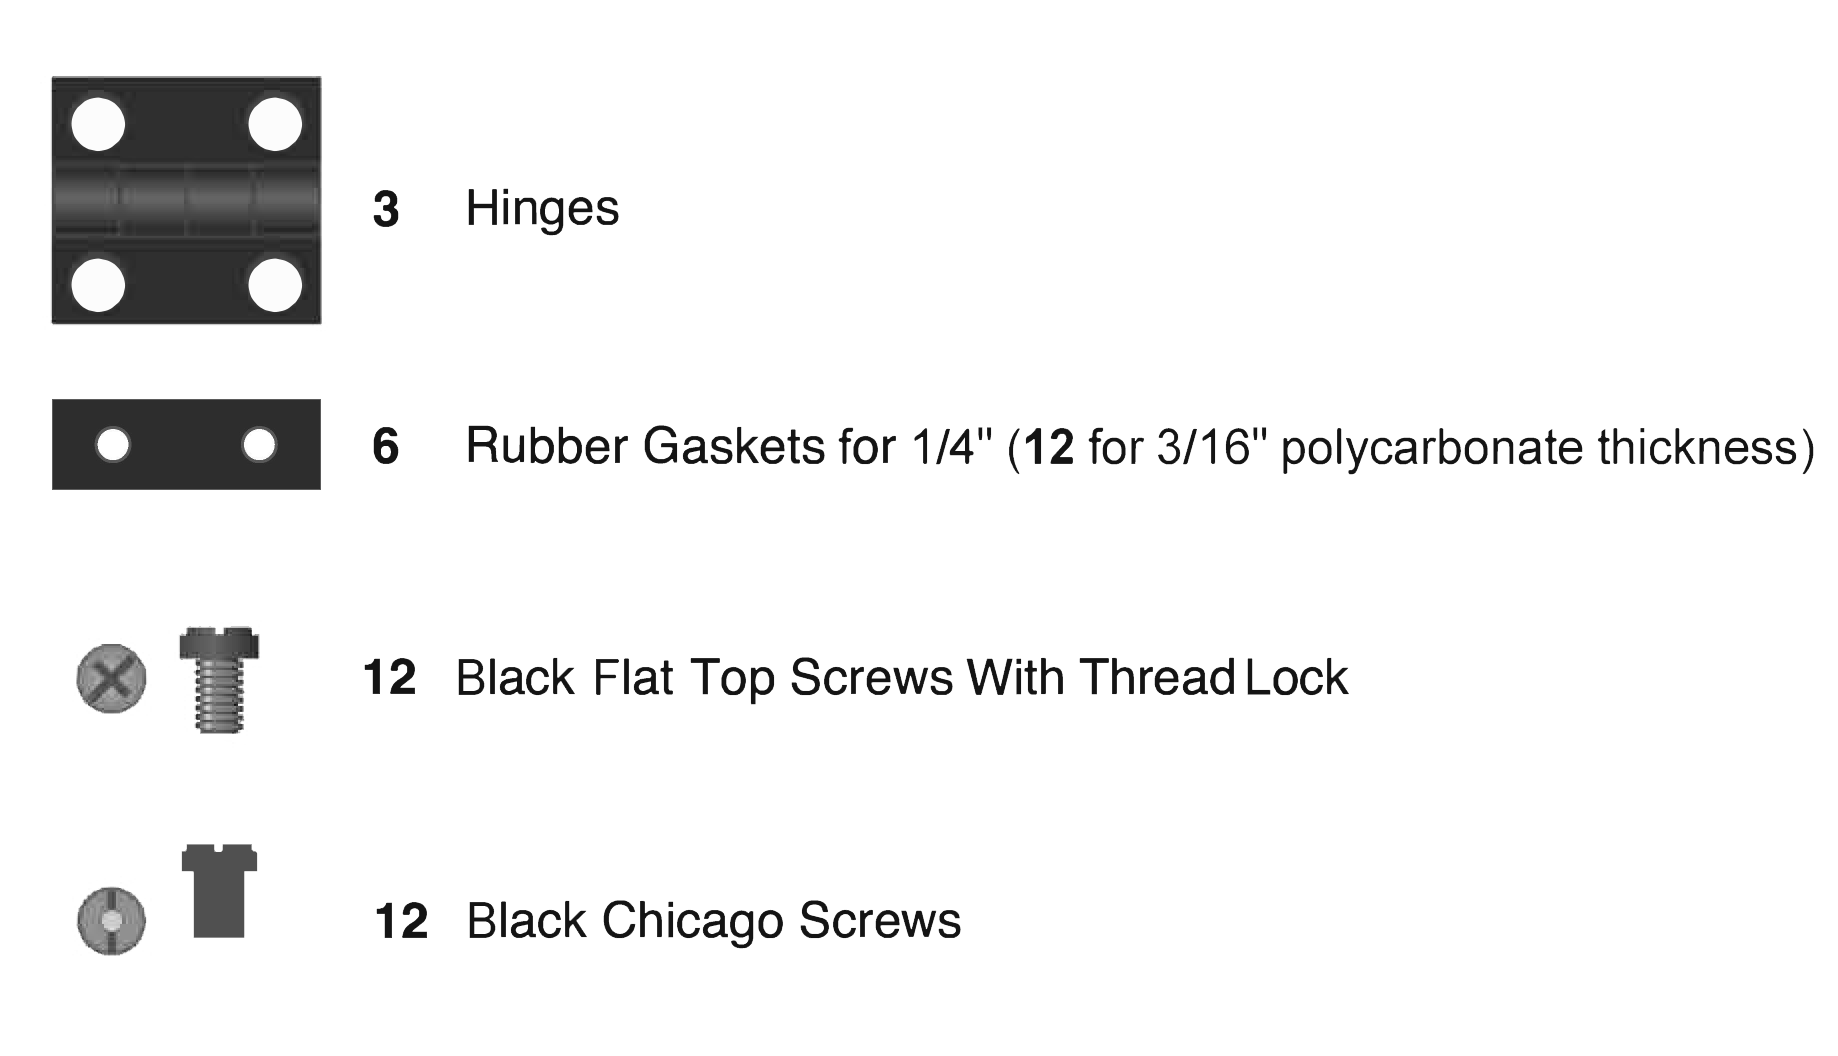
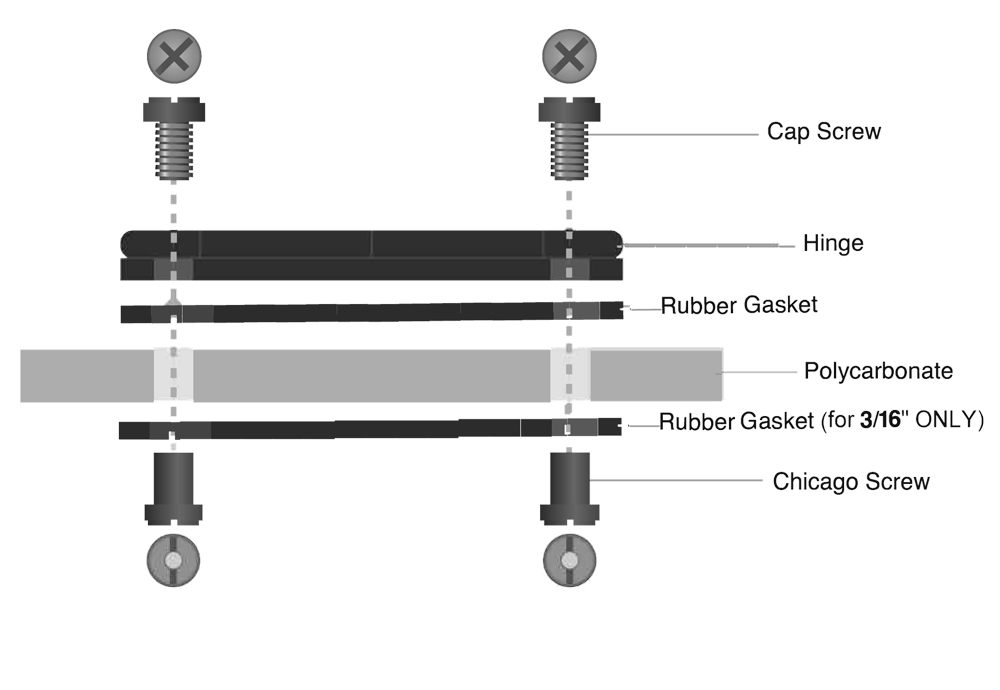
Hinge Hardware:

  • 3 hinges
  • 6 rubber gaskets (12 for 3/16″ thickness)
  • 12 black flat top screws with Thread Lock
  • 12 black Chicago screws

Tools needed:

  • Phillips head screwdriver or power drill
  • Flat head screwdriver (a short one is preferred)
Hinge Hardware

Directions

  1. Unbox the windshield and remove the wrapping. Keep the protective peel coat on the windshield until after assembly and installation.
  2. Remove the strap packet and find the bag containing the hinge hardware. It will contain:
    • 3 hinges
    • 6 rubber gaskets (12 for 3/16″ thickness)
    • 12 black flat top screws with Thread Lock
    • 12 black Chicago screws
  3. Place the top of the windshield (the piece with a bend on both ends) on a large flat surface.
  4. Have the end with the hinge holes toward you with the lip pointing down.
  5. Rip a small line in the peel coat in between the two hinge holes. Fold each corner back onto itself. You should have a rough triangle shape. This will expose the polycarbonate around the hinge holes. Repeat until all three hinge hole sections are exposed on that face.
  6. Flip the windshield over so the hinge bend is facing upwards. Repeat Step 5.
  7. Repeat Steps 5 and 6 on the bottom portion of the windshield.
  8. Take 2 Chicago screws and place them underneath the windshield through the hinge holes. Place 1 rubber gasket on top of the two Chicago screw ends.
  9. Take 1 hinge and place it on top of the rubber gasket with the bump facing upwards. Hand tighten 1 flat head screw in each hinge hole.
  10. Hold extra rubber gasket underneath the windshield to secure the Chicago screw in place. Use drill to tighten each flat head screw until the rubber gasket(s) is slightly compressed. *Caution, do not allow any tool to touch the windshield directly. Only touch the screws*
  11. Repeat until all 3 hinges are installed on the top portion of the windshield.
  12. Take the bottom portion and repeat Step 8.
  13. Turn the bottom piece around so the hinge holes line up with the hinges on the top portion.
  14. Line up the bottoms of the hinges with the hinge holes in the bottom portion. Repeat Steps 9 – 10.
Hinge Installation

For basic windshield installation

Installation Step 1

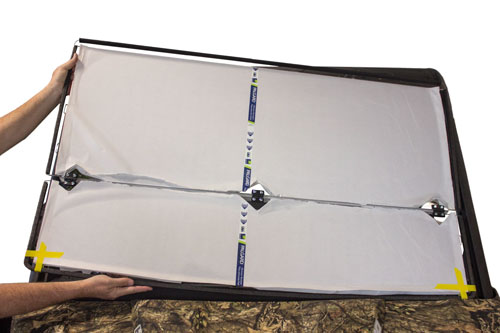
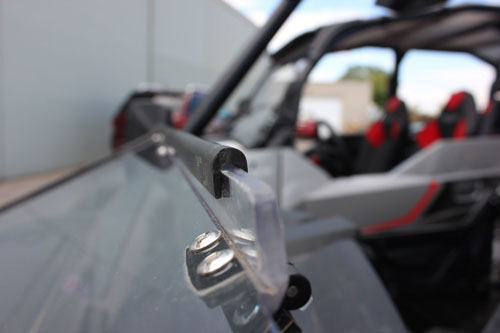
1) Unbox windshield and velcro strap packet. Unwrap foam from
around windshield. Place windshield on machine with the contoured
edge against the hood and the slight bend at the top.

Installation Step 2

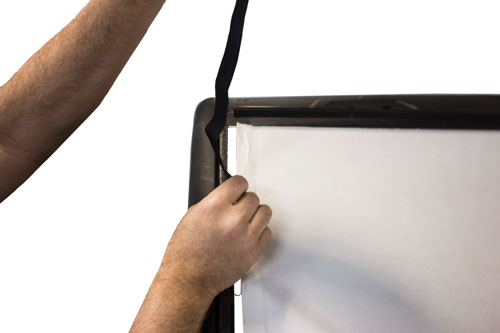
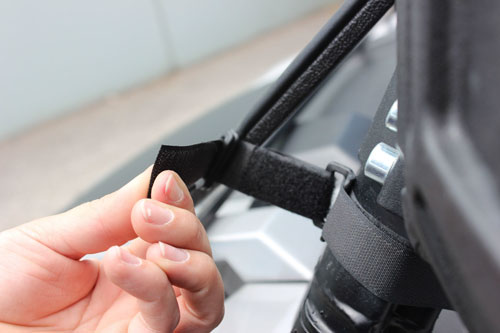
2) Remove velcro straps from packet. Secure top slots first. Open
velcro strap and insert hook end into the slot with the smooth side
facing you.

Installation Step 3

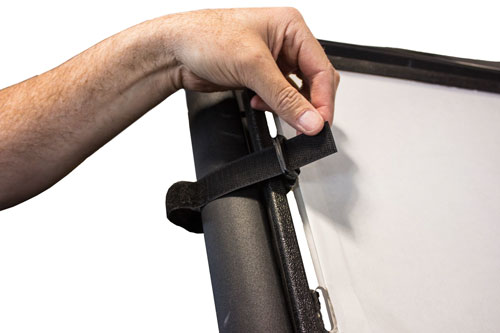
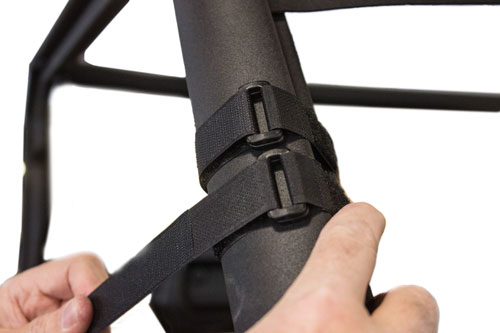
3) Wrap around roll bar and insert hook end of strap through both
“D” rings. Pull strap tight and wrap back on itself for secure fit.
Repeat for all slots on the top section of the windshield.

Installation Step 4

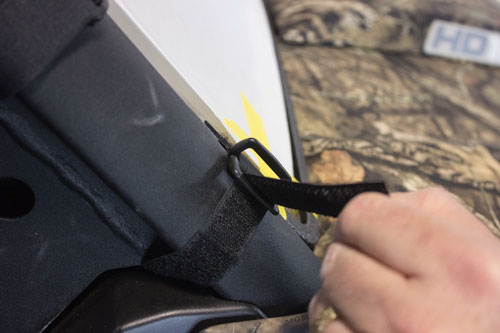
4) For the slots on the bottom section of the windshield repeat
Step 2 and 3, but only insert the strap through the first “D”
ring leaving the second one open.

For transition from a full to a half windshield

Transition Step 1

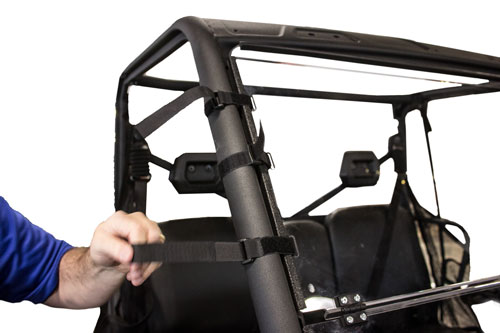
1) To put the windshield into the half position, unstrap all top
straps and fold the top section down until it rests on the hood.

2) Using one of the top straps, insert the hook end into the top slot, with the smooth side facing away from you. Insert end through the free “D” ring on nearest bottom strap.

3) Wrap back through to the D” rings, pull tight and secure strap.

Transition Step 4

4) Repeat steps 5-7 on opposite side.

Transition Step 5

5) Secure all extra straps around roll bar.

Our 3 Easy Steps installation video

For Rain and Snow

Weather Option 1

1) Option A for narrow gap between lips.

2) Option B for larger gap between lips.

Weather Stripping install video.